Introduction
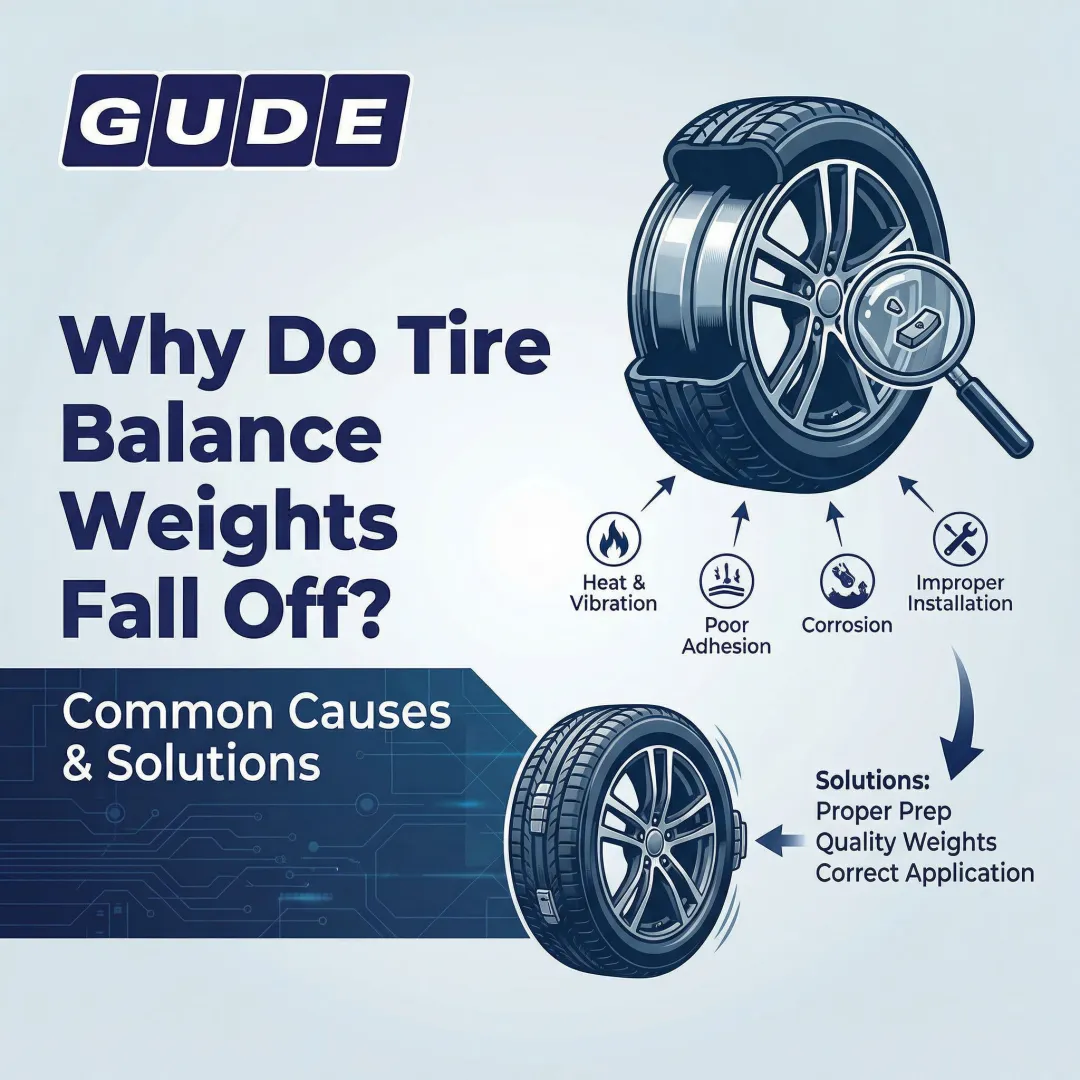
Clip-on wheel weights hold a 63%–65% global market share, making them the most common balancing method in automotive service. Yet improper removal is one of the leading causes of rim damage in tire shops—particularly on alloy and chrome-plated wheels.
The task looks simple enough. But results vary widely depending on the tools used, the rim material, and the technique applied.
Using a flathead screwdriver or metal pry bar to remove clip-on weights is the single most common source of rim flange scratches, coating damage, and customer complaints. Alloy wheels are especially vulnerable; their protective clear coat scratches easily, leading to corrosion and warranty issues. Steel rims are more forgiving, but poor technique can still bend flanges or leave burrs that compromise future balancing.
This guide covers the tools you need, the correct removal process, common mistakes that damage rims, and what to inspect once the weights are off—so your shop avoids the callbacks that come from rushed technique.
TL;DR
- Use plastic-coated pliers or a dedicated removal tool; screwdrivers and metal pry bars will damage the rim flange
- Remove all weights before dismounting tires to prevent rim flange damage
- Apply steady pulling force, not jerking motions, to avoid scratching or bending the flange
- Inspect the rim flange after every removal for corrosion, burrs, or deformation
- Never reuse old clip-on weights: clip tension degrades after the first removal
What You Need Before Removing Clip-On Wheel Weights
Having the correct tools is not optional. Improvised tools like flathead screwdrivers are a leading cause of rim coating damage, especially on alloy wheels.
Essential Tools
- Use a dedicated wheel weight removal tool — plastic-coated pliers or a hook-style remover built specifically for clip-on weights
- Wear safety gloves to protect hands from sharp edges and metal burrs
- Wear safety glasses to block metal fragments during removal
Know Your Rim Material
Alloy and aluminum rims require extra care because their protective coating scratches easily. Steel rims are more forgiving but still demand proper technique. Your rim material should drive both your tool selection and how aggressively you apply leverage.
Workspace Setup
- Park on a flat, stable surface with the parking brake engaged
- In a shop setting, remove the wheel and place it flat on a clean work surface
- Ensure adequate lighting to spot all weights, including those on the inner flange
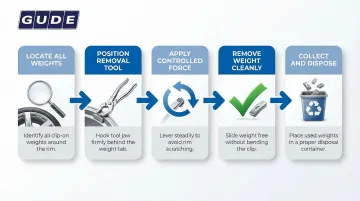
How to Remove Clip-On Wheel Weights: Step-by-Step
Step 1: Locate All Clip-On Weights on the Rim
Inspect both the inner and outer rim flanges thoroughly. Clip-on weights can be placed on either side and may be partially hidden by the tire bead. Missing a weight before tire dismounting can cause serious flange damage when the tire machine head contacts it.
If you're rebalancing rather than just replacing, mark or count all existing weights before removal to cross-reference with new balancing machine readings.
Step 2: Position the Removal Tool Correctly
The jaws of wheel weight removal pliers (or the hook end of a removal tool) must be fully seated around the body of the weight—not just on the edge. Partial contact causes the tool to slip and gouge the rim.
For plastic-coated tools, make sure the coating faces the rim and is fully intact—worn coating allows direct metal-to-metal contact with the rim surface.
Step 3: Apply Controlled Force to Release the Clip
Use a firm, steady outward pull combined with a slight downward rotation. This releases the clip from the flange without dragging metal across the rim surface. Avoid sharp jerking motions, which cause the tool to slip.
If the weight resists, recheck tool positioning rather than increasing force. Poor positioning plus added force is the most common cause of rim damage.
Step 4: Remove the Weight Cleanly
Once the clip releases from the flange, guide the weight away from the rim carefully. Don't let it snap off and hit the brake rotor, caliper, or rim surface.
For corroded or seized weights—common in regions with road salt exposure—apply penetrating lubricant to the clip area and allow it to soak for a few minutes before attempting removal.
According to research on road salt corrosion, Magnesium Chloride and Sodium Chloride severely accelerate galvanic corrosion between steel clips and aluminum rims, which is why seized weights require extra care rather than extra force.
Step 5: Repeat and Collect All Removed Weights
Every weight must be accounted for—especially inner flange weights that can fall into the wheel well or onto brake components. Set aside removed clip-on weights for disposal rather than reuse.
When Should You Remove Clip-On Wheel Weights?
Remove clip-on weights in these scenarios:
- Before tire dismounting — Clip-on weights sit directly on the rim flange where the tire machine head travels. Leaving them in place risks cracking the weight or bending it into the flange.
- Before rebalancing — Old weight positions are invalid after a new tire is mounted or when addressing a vibration complaint. The U.S. Tire Manufacturers Association requires rebalancing in both situations.
- When weights are damaged — A visibly shifted, corroded, or partially detached weight should come off immediately to prevent rim damage.
One exception: if a vehicle is in for non-wheel-related service and the wheels won't be dismounted or rebalanced, leave the existing weights in place.
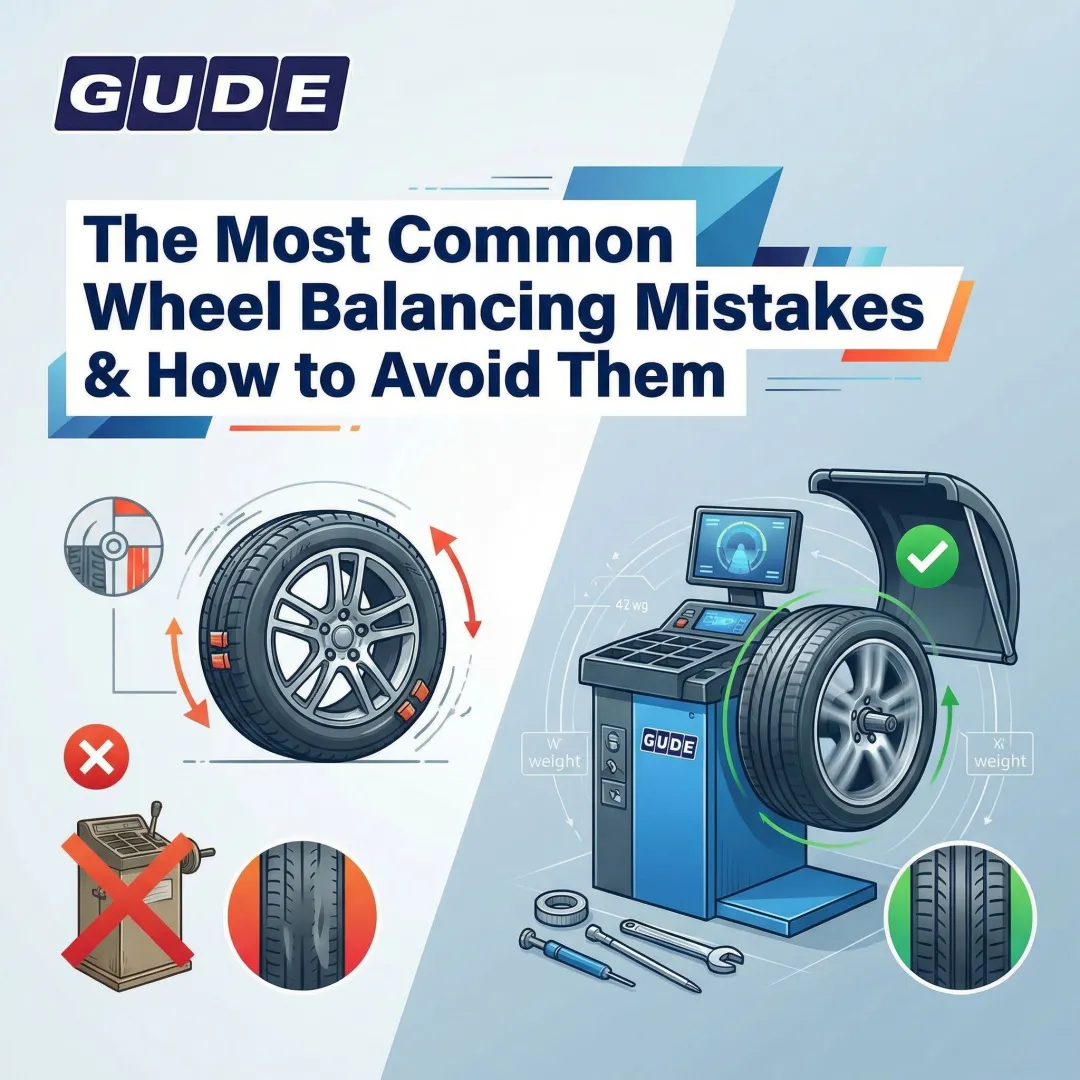
Common Mistakes That Can Damage Rims or Compromise Results
Using the Wrong Tool
Using a flathead screwdriver, chisel, or any uncoated metal tool to pry off clip-on weights is the single most common source of rim flange scratches and coating damage. On alloy wheels, surface damage leads directly to corrosion and customer complaints.
General Motors Technical Service Bulletins mandate the use of plastic tools on chrome-plated and painted aluminum wheels to prevent warranty-voiding damage.
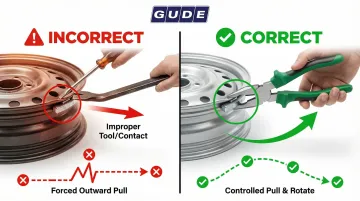
Incorrect Tool Placement
Hooking the tool only on the edge or tab of the weight—rather than fully enclosing the weight body—causes the tool to slip under force. This drags the tool tip across the rim, leaving scratches and gouges.
Proper grip makes all the difference:
- Jaws fully encircle the weight body, with the plastic coating facing the rim
- Gripping only the edge or tab creates a pivot point that slips and drags across the flange
Applying Force at the Wrong Angle
Pulling straight outward (parallel to the axle) rather than using a pull-and-rotate motion places uneven stress on the clip and can bend the rim flange. The correct angle combines outward force with slight downward rotation to release the clip smoothly.
Skipping the Pre-Dismount Removal Step
Many technicians skip removing clip-on weights before mounting the tire on the balancing machine or tire changer. This risks the machine's mounting cone or tire iron contacting the weights, causing both tool and rim damage.
Ignoring Rim Inspection After Removal
Each removal point on the rim flange should be visually checked for burrs, deformation, or paint/coating chips. Undetected flange damage causes new weights to seat incorrectly or corrode faster — undermining the balance work before the vehicle even leaves the bay.
What to Do After Removing Clip-On Weights
Clean the Rim Flange
After all weights are removed, wipe down the flange area to remove brake dust, road grime, and oxidation left behind by the weight clip. A clean surface ensures the balancing machine reads accurately and that new weights seat flush.
Inspect the Rim Flange Depth
Rim flanges shallower than 3/16 inch may not hold clip-on weights reliably. In these cases, switch to adhesive weights instead.
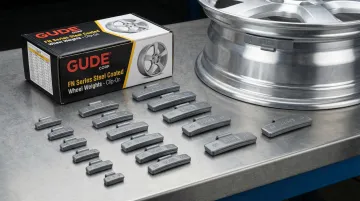
Choosing the Right Replacement Weight
Once the flange checks out, select weights that are properly rated and correctly sized for the application. Key criteria:
- Material: Steel construction with a corrosion-resistant coating seats cleanly and resists rust over time
- Certification: ISO9001-certified weights ensure consistent manufacturing tolerances
- Lead compliance: Nine U.S. states ban lead wheel weights — lead-free steel weights satisfy those regulations and work in all other markets
- Application fit: Confirm the weight series matches the rim profile (OEM or aftermarket)
GUDE Corp's clip-on wheel weights are available in steel with corrosion-resistant coatings and meet these criteria for both OEM and aftermarket fitments.
Do Not Reuse Removed Clip-On Weights
The clip mechanism on a used weight has already been stressed and may not apply consistent tension on reinstallation. This can result in weights that shift or fall off, leading to vibration complaints and potential rim damage.
Troubleshooting Common Removal Problems
Problem: The Weight Will Not Budge
Corrosion bonding is the most common culprit — particularly on vehicles regularly driven on salt-treated roads. The clip fuses to the rim flange over time, making standard removal force ineffective.
To break it free:
- Apply penetrating lubricant to the clip-to-flange contact point
- Wait 2–3 minutes before reattempting
- Confirm the tool is fully seated around the weight body before applying force
Problem: The Tool Keeps Slipping Off the Weight
This usually points to one of two things: the jaws aren't fully closed around the weight body, or the tool's plastic coating has worn through — letting the bare metal jaw skip across the smooth weight surface.
Re-seat the tool until the jaws fully encircle the weight. If the plastic coating is visibly worn or missing, replace the tool before continuing.
Problem: The Weight Breaks or Deforms During Removal
Brittleness from age, corrosion, or material composition is typically the cause. Older lead weights are far more prone to fracturing than modern steel or zinc weights.
If the weight body has already fractured, use a smaller, more precise tool to work the clip free piece by piece. Check the rim flange afterward for any embedded fragments.
Frequently Asked Questions
Why should you remove any existing weights before dismounting the tire?
Clip-on weights sit on the rim flange—the same area where tire changer heads and irons travel during dismounting. Leaving them in place risks the machine contacting the weight and bending or cracking it into the flange, damaging both the weight and the rim surface.
Can I get my wheels and tires balanced without weight clips and instead use adhesive weights?
Yes, adhesive (stick-on) weights are a valid alternative, particularly for alloy or aluminum wheels where clip-on weights risk coating damage. Rim flange depth, brake caliper clearance, and wheel type should guide the choice, as some flanges are designed exclusively for clip-on weights.
What tools do I need to remove clip-on wheel weights?
A dedicated plastic-coated wheel weight removal tool or wheel weight pliers, safety gloves, and safety glasses are the minimum. Metal tools should never be used on alloy rims.
Can removing clip-on wheel weights damage my rims?
Removal done with the correct plastic-coated tool and proper technique will not damage rims. Using metal tools, incorrect angles, or excessive force causes damage—particularly on alloy or coated wheels.
Should I reuse clip-on wheel weights after removal?
No. One removal cycle permanently reduces the clip's clamping tension, causing reinstalled weights to shift or fall off and create balance problems.
How do I know if my wheels need rebalancing after removing clip-on weights?
Whenever clip-on weights are removed for any reason, rebalance the wheel on a balancing machine before returning the vehicle to the road. Vibration at highway speeds is the key symptom of imbalance.